Ice Maker Line Installation
A saddle valve ice maker line will leak. A proper connection will not.
Wes installs ice maker supply lines with compression fittings off a proper shutoff, not a saddle valve that fails in three years.
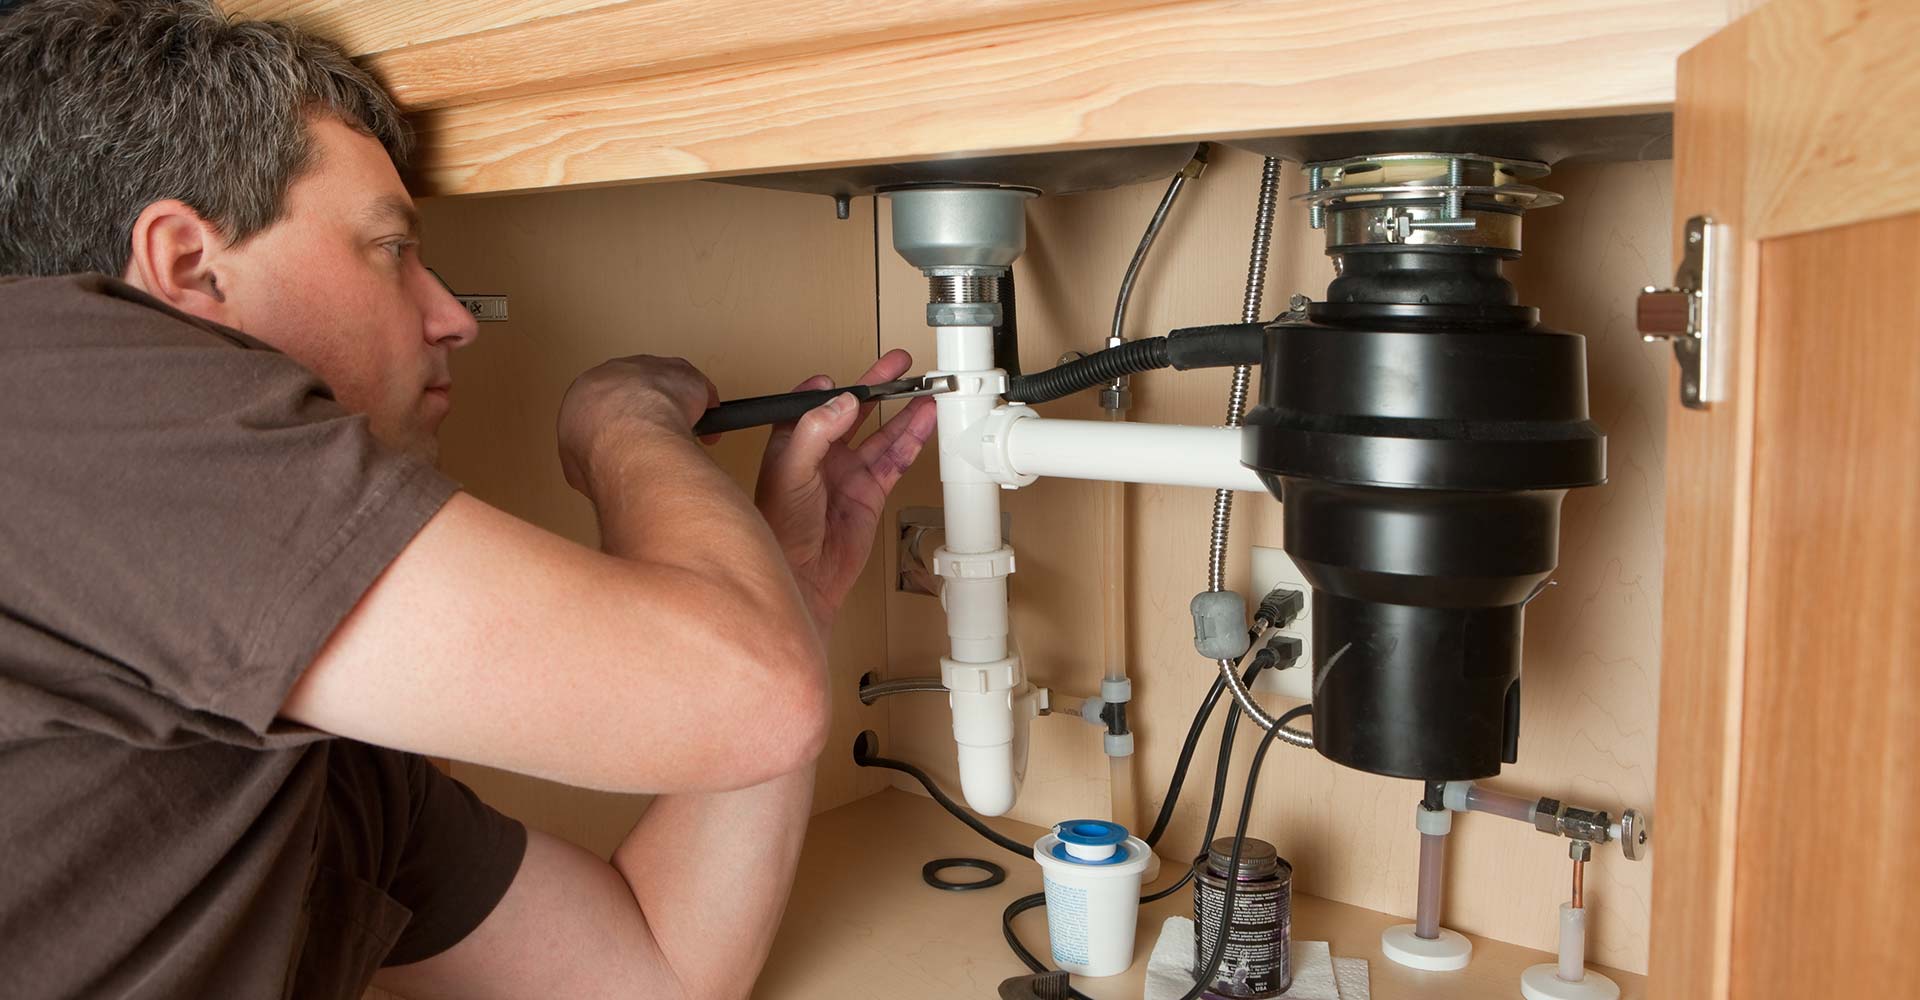
Why saddle valves fail
The easy install is the unreliable one.
The self-piercing saddle valve that most appliance installers put on an ice maker line is a known failure point. The needle opening is tiny, restricting flow and causing the icemaker to make small cubes. More importantly, the saddle valve gasket hardens over time and the seal fails, causing a slow leak behind the refrigerator that can go unnoticed until there is water damage under the floor.
Understand what a saddle valve actually is. It is a clamp that squeezes around a copper line with a sharp needle in the middle. Tighten the handle and the needle pokes a hole in the pipe. A rubber washer is the only thing keeping water inside. That washer is compressed against copper for years in a warm cabinet, and rubber under constant compression does one thing over time: it takes a set and it hardens.
Two other failure modes come with it. The pinhole clogs, because a needle-sized opening is easy to plug with the scale that Front Range water carries. And the valve seizes, so the day you need to shut water off to the refrigerator, the handle will not turn. Some homeowners get lucky and go fifteen years. Plenty do not make it past five.
The damage pattern is what makes it worth talking about. This is a slow drip behind a refrigerator that nobody moves. It runs down the back of the cabinet toe kick and under the flooring, and by the time a soft spot in the hardwood or a smell tells you something is wrong, the subfloor is gone and so is the drywall on the other side of that wall. Wes has cut open enough kitchen floors to have strong feelings about a fitting that saves an installer ten minutes.
Wes installs ice maker lines with a proper compression tee off an existing supply line and a dedicated 1/4-turn shutoff valve. Reliable, correct flow, and a working shutoff when you need it. Get it done right.
- Compression tee off existing supply
- Dedicated 1/4-turn shutoff valve
- 1/4-inch copper or braided supply line
- Refrigerator connection with proper fitting
- Leak test before pushing in refrigerator
- Accessible shutoff location
- Existing saddle valves cut out and replaced
Running a new line
When there is no existing supply nearby.
If the refrigerator location does not have a nearby cold water line to tap, Wes runs a dedicated supply line from the nearest accessible cold supply, typically from under the kitchen sink or from a line in the basement below. He routes the line cleanly, installs the shutoff at an accessible location, and connects to the refrigerator with the correct fitting for that model.
Where the shutoff lands is worth thinking about for a minute. The common approach is a recessed box in the wall behind the refrigerator, which looks tidy and puts the valve out of sight. The problem with out of sight is that you have to drag a loaded refrigerator across the floor to reach it during a leak. In houses with a basement below the kitchen, Wes often prefers a valve on the branch downstairs, labeled, where you can shut it in ten seconds with one hand.
Material choice matters more here than the size of the job suggests. Soft copper is durable and Wes uses it where the run is protected. Braided stainless is the better call where the tubing has to flex behind the appliance, because bare copper work-hardens at a kink point and eventually cracks there. The clear plastic tubing that comes taped to the back of a lot of refrigerators is the one to throw away. It gets brittle in a warm compressor cabinet and it splits.
The last piece is slack. There has to be a service loop with enough length that you can pull the refrigerator all the way out to clean behind it without putting tension on the connection. Not so much that the line coils and kinks against the wall. Wes sets the length, pulls the unit out and pushes it back in once to prove it, and then leak-checks the fitting under pressure before he calls it done.
- Supply line run from nearest cold source
- Clean routing through walls or floor
- Dedicated shutoff installation
- Correct refrigerator fitting
- Leak test
- Copper or braided stainless supply line
- Service loop sized for pulling the unit out
- Recessed wall box or accessible branch valve
Existing line replacement
Replacing a failing saddle valve.
If your refrigerator already has a saddle valve that is showing age or has leaked before, replacement with a proper connection is straightforward. Wes cuts out the saddle valve, installs a compression tee or proper tap, and runs a new supply with a shutoff. The job takes an hour or two and eliminates a known future failure point. See our kitchen plumbing work.
Worth doing before it leaks rather than after. Pull the refrigerator out this weekend and look at the connection. If you see a clamp wrapped around a copper line with a small handle sticking out of it, that is a saddle valve. Green or white crust around the clamp means it has already been weeping. A stain on the cabinet back or a cupped board in the floor means it has been weeping for a while.
Replacing one is a contained job. Wes shuts the branch, cuts the pierced section of copper out entirely, and sweats or presses in a proper tee with a quarter-turn stop. The pierced pipe leaves with him, because a hole that has been plugged with a needle for years does not get patched, it gets removed.
Homeowners on a private well out in Douglas County should look twice. Well water tends to carry more iron and sediment than a municipal supply, and a needle-sized orifice is exactly the wrong opening for it. Those saddle valves plug up faster and the ice maker output falls off long before anybody connects the two.
While the refrigerator is out, it costs nothing to look at the drain line for a water dispenser and to check that the flooring behind it is dry. Small inspection, and it has saved a lot of kitchens.
Proper fitting, proper shutoff
Ice maker line done right.
A saddle valve is a shortcut that fails in three to seven years. A proper compression tee with a dedicated shutoff lasts the life of the house. Wes installs the right connection every time.
It is a short visit and it is often bundled with something else you were already going to call about. A dishwasher install, a new kitchen faucet, a disposal swap. Same cabinet, same shutoffs, one trip.
Call (303) 883-9075 or send a photo of what is back there now and Wes will tell you straight whether it needs replacing.
How a call goes
Straight answer, fair price.
You call, we listen.
Tell us what is happening.
We look and diagnose.
No parts quoted before the cause is confirmed.
Straight quote.
You know the cost before we turn a wrench.
We do the work.
Tested before we leave.
Done right.
One master plumber, one point of contact.
Straight answers
Questions about ice maker line installation.
Why is my ice maker making small cubes?
Usually the saddle valve restricting flow. A proper connection with a full-bore shutoff supplies adequate water volume.
Can you replace an existing saddle valve?
Yes. Wes cuts it out and installs a proper compression tee with a dedicated shutoff in the same visit.
How long does ice maker line installation take?
One to two hours for a connection off an existing supply. Two to four hours if a new line needs to be run.
What type of supply line do you use?
1/4-inch copper tubing or braided stainless, depending on the application and refrigerator connection type.
How do I know if I have a saddle valve back there?
Pull the refrigerator out and look at where the small tubing meets a larger pipe. A saddle valve is a metal clamp wrapped around the pipe with a short handle sticking out of one side. A proper connection looks like a tee soldered or pressed into the line with a quarter-turn stop valve on it. Green or white crust around a clamp means it is already weeping.
Is it worth replacing a saddle valve that is not leaking yet?
Yes, and it is the cheapest version of the job. Replacing one before it fails is an hour with the refrigerator pulled out. Replacing one after it fails means the same hour plus flooring, subfloor, and often drywall on the far side of the wall. Slow leaks behind a refrigerator run for weeks before anybody notices, which is what makes them expensive.
Can you install a line for a new refrigerator with a water dispenser?
Yes. Dispensers and ice makers share the same supply, and the connection is identical. Wes runs a dedicated line off the nearest cold supply, sets a quarter-turn shutoff somewhere you can actually reach, and leaves a service loop long enough that you can pull the unit out to clean behind it without stressing the fitting.
Do you have to open a wall to run the line?
Not usually. Most runs go under the floor from a basement or through the toe kick from the sink cabinet, and neither one needs drywall opened. If the only path does run through a finished wall, Wes opens it, runs the line, and patches it himself. He is a licensed general contractor as well as a master plumber, so there is no second trade to schedule.
Ice maker supply line failing?
Call Wes. Proper connection, proper shutoff, no saddle valves.