Shower Installation
A shower installed right does not leak at the pan, drip at the valve, or run cold.
From the valve rough-in to the trim installation, Wes installs showers that perform from day one.
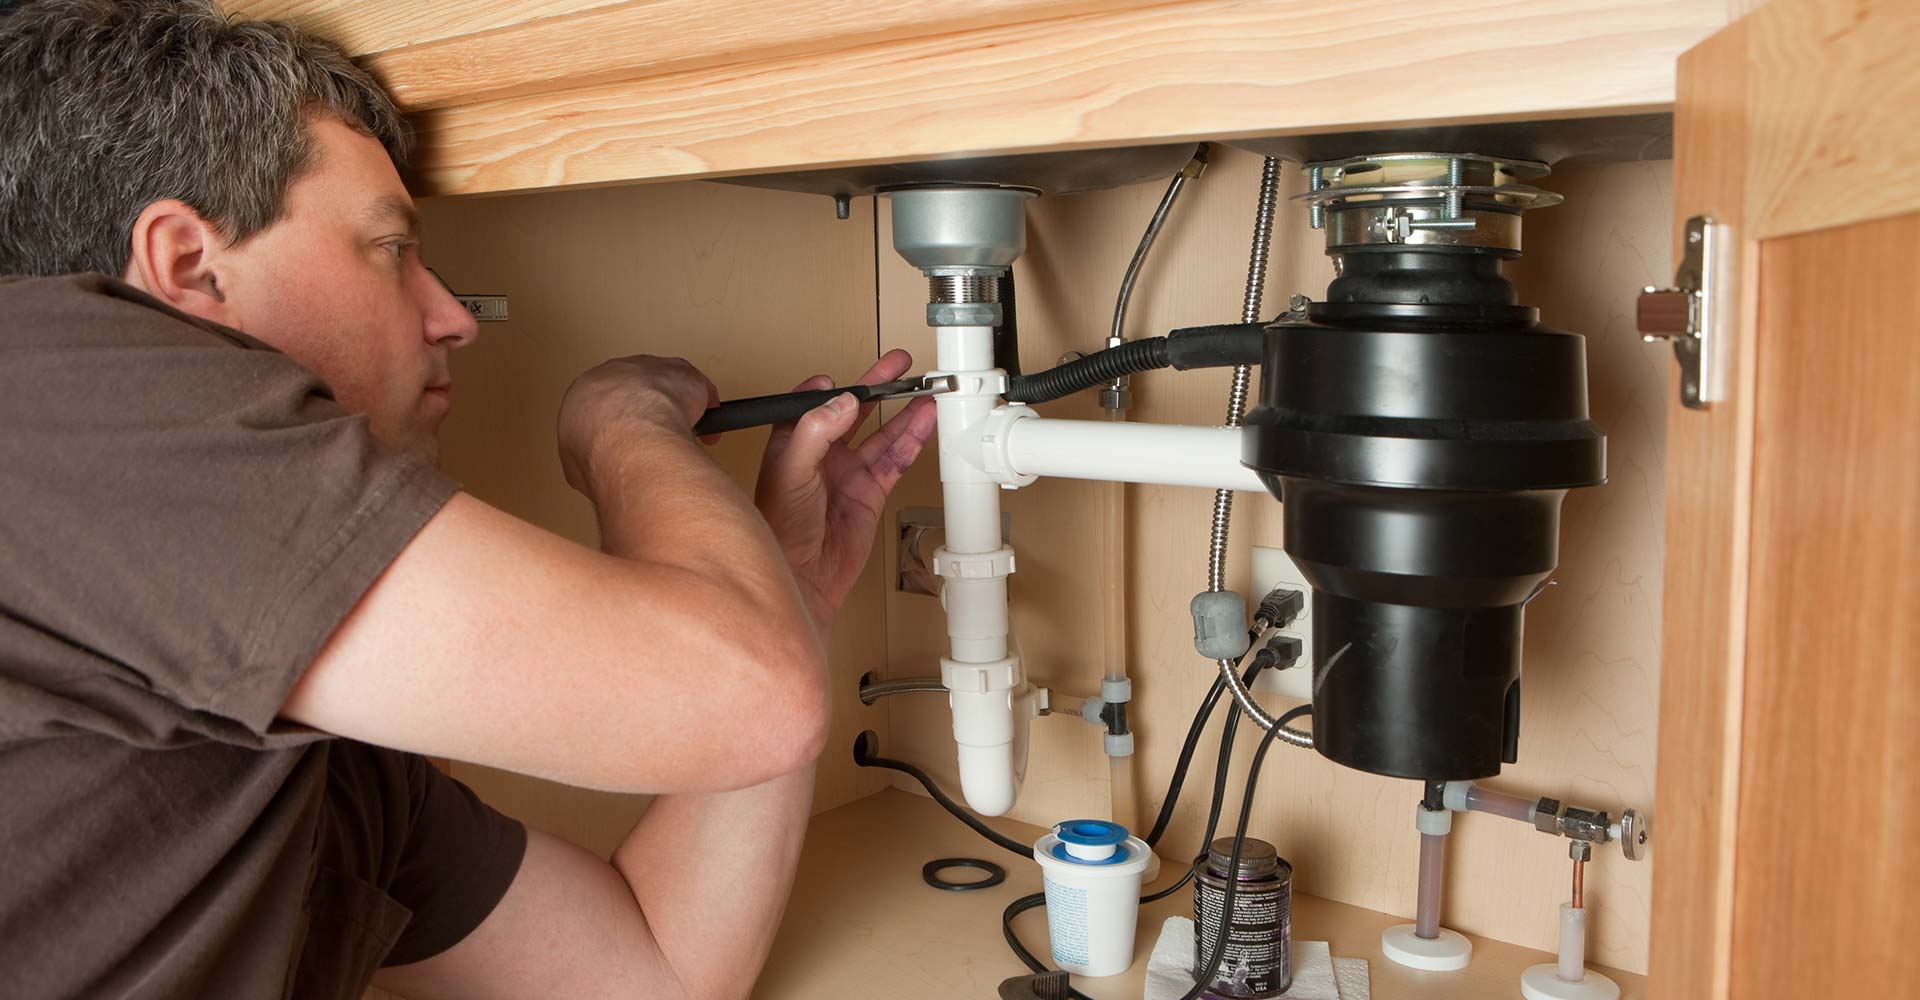
Shower valve rough-in
The plumbing underneath determines how the shower works.
A shower installation starts with the valve rough-in: positioning the pressure-balancing valve at the correct depth and height in the wall, with properly sized supply lines. The rough-in has to be right before any waterproofing or tile goes in, because fixing a wrong rough-in after the wall is closed is expensive.
Depth is the detail that bites people. Every valve body has a printed depth range measured to the face of the finished wall, and the finished wall is not the studs. It is studs plus backer board plus thinset plus tile. Set the valve for half-inch drywall and then tile over cement board, and the escutcheon will not sit flat or the trim sleeve will not reach. That call comes six weeks into a project, after the grout. Wes wants the exact wall buildup before the valve is nailed in, because there is no cheap fix once it is closed up.
Wes positions the valve for the correct trim depth, ensures the supply lines are the right diameter for the showerhead flow rate, and pressure-tests the rough-in before calling for inspection or closing the wall. He also sets valve height and showerhead drop where they belong for the people actually using the shower. Standard height is a starting point, not a rule, and it is worth thirty seconds of conversation before the pipe is strapped. Get the rough-in done right.
The other rough-in decision is which valve goes in. A pressure-balancing valve reacts to a pressure drop on one side, so when a toilet flushes it throttles the other side to keep the mix roughly where it was. It protects you from a scald. It does not hold an exact temperature. A thermostatic valve senses temperature and holds the number you set regardless of pressure or how cold the incoming supply runs. It costs more, it takes a deeper rough-in, and it is the right answer for a big shower with multiple heads or for anyone who has been fighting inconsistent temperature for years.
- Pressure-balancing valve rough-in
- Thermostatic valve rough-in
- Supply line sizing for flow rate
- Rough-in depth and height positioning
- Pressure test before wall close
- Permit and inspection coordination
- Wall buildup and finish depth confirmation
- Access panel placement
Shower pan and drain installation
Waterproofing is the foundation.
A shower pan that is not properly waterproofed leaks into the subfloor from the first use. Traditional mortar bed pans, prefabricated shower pans, and modern tile-ready foam systems all require correctly installed waterproof membranes and a properly set drain. Wes sets the drain at the correct slope, seals the liner at the curb and corners, and sets the drain collar at the right height.
Leaks almost never start in the middle of a pan. They start at the transitions: the inside corners, where the liner turns up the curb, and at the drain collar. A mortar bed pan uses a sheet liner that has to be folded and dammed at the corners rather than cut, and clamped to the drain body with the bolts pulled evenly. Cut a corner to make it lie flat and the leak is built in on day one. Bonded foam systems handle that better with banded seams, but they are less forgiving of a sloppy substrate. Either way the pan gets flood tested with water standing in it before a single tile goes down.
He also checks the drain connection to the stack and makes sure the P-trap is accessible for future service. In older Littleton and Lakewood homes that often means dealing with what is already down there, which can be cast iron or, in certain eras, a galvanized branch that has scaled down to a fraction of its original opening. There is no point plumbing a new shower into a line that is going to clog every spring. If the branch is shot, he says so before the floor is closed, not after, and a camera look down the line settles it quickly. Bigger scopes roll into a bathroom remodel.
Then there is the finish: tile or a surround. A one-piece or three-piece acrylic surround goes in fast, costs less, and does not have grout to maintain, which is a real argument in a rental or a basement bathroom. Tile costs more and takes longer, and it lasts decades when the waterproofing behind it was done right. When it was not, tile fails quietly for years into the framing. Wes has no preference to sell you, and being a general contractor as well as a master plumber means he can do the wall and tile side rather than handing it off. Nobody stands in your bathroom pointing at another trade.
- Mortar bed and liner installation
- Prefab shower pan setting
- Tile-ready foam system installation
- Drain collar height setting
- Curb waterproofing
- P-trap and drain connection
- Flood test before tile
- Tile or acrylic surround finish work
Trim and showerhead installation
The finish work matters.
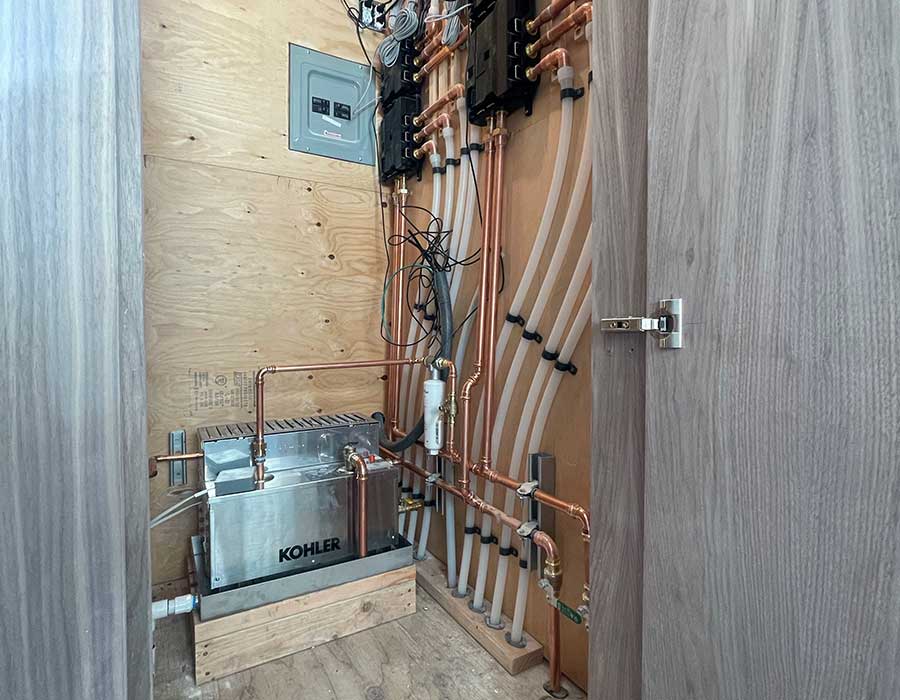
Once the wall is tiled and the pan is complete, Wes installs the valve trim, showerhead, and any hand-spray hardware. He tests the temperature limit stop and pressure-balancing function before the shower is used for the first time. See our work.
The limit stop is the part most people have never heard of and most trim installs skip. It is an adjustable collar inside the valve that caps how far toward hot the handle can travel. Set from the factory it is usually conservative, so the shower feels lukewarm at full hot and the homeowner assumes the water heater is undersized. Dialed in correctly it gives you the full range you actually want while still stopping short of a scald. Ten seconds of adjustment, and it decides whether you like the shower.
Tub-to-shower conversions are a common version of this job and they carry an extra step. Pulling a tub means the drain moves, because a tub drain sits at one end and a shower drain sits near the center. That is subfloor work and new drain and vent routing, not a swap. Cast iron tubs in the older neighborhoods around Littleton and Wheat Ridge are heavy enough that they usually come out in pieces, and that demolition is part of the job rather than something you have to arrange separately. Same for the framing when a curb goes in or a wall gets furred out.
Multi-head showers deserve a warning. Hanging three heads and a body spray off a half-inch supply gets you three weak showers instead of one good one. Wes sizes the supply for what you plan to run at once, and if the service or the water heater cannot support it, he says so while it is still a drawing.
Rough-in first, right the first time
Shower installation done properly.
Getting the rough-in right before the wall closes is the most important step. Wes pressure-tests and positions correctly before any tile or pan work proceeds. You will not be reopening walls to fix a rough-in depth.
Hiring one person who holds both a master plumber license and a general contractor license keeps the whole sequence in one set of hands. Rough-in, inspection, backer board, waterproofing, pan, tile, trim. Every handoff between separate trades is a place where a schedule slips or a detail gets assumed. Here there is one number to call.
Wes works out of Littleton and covers roughly a hundred miles across the Front Range, days, nights and weekends. Call (303) 883-9075 or send over what you are planning and you will get a straight read on the scope before anybody commits to anything.
How a call goes
Straight answer, fair price.
You call, we listen.
Tell us what is happening.
We look and diagnose.
No parts quoted before the cause is confirmed.
Straight quote.
You know the cost before we turn a wrench.
We do the work.
Tested before we leave.
Done right.
One master plumber, one point of contact.
Straight answers
Questions about shower installation.
Do you do the tile and wall work too, or just the plumbing?
Both. Wes holds a master plumber license and a general contractor license, so the valve rough-in, pan, waterproofing, backer board, tile and trim all stay with one person. That matters most at the handoffs, because a shower that leaks usually failed at a seam between two trades who each assumed the other handled it.
What type of shower valve should I use?
A pressure-balancing valve satisfies code in most municipalities and protects against a scald when a toilet flushes. A thermostatic valve holds an exact set temperature regardless of pressure, costs more, and needs a deeper rough-in. Thermostatic is worth it for a large shower with multiple heads or if inconsistent temperature has bothered you for years.
Why does the finish wall thickness matter for the valve?
Every valve body has a printed depth range measured to the face of the finished wall, meaning studs plus backer board plus thinset plus tile. Set it for drywall and then tile over cement board and the trim will not seat, the escutcheon gaps, or the handle binds. Fixing it after grout means opening the wall, so the buildup gets confirmed first.
How long does shower installation take?
Rough-in and pan work usually runs one to two days depending on whether drain lines have to move. The pan then gets flood tested before tile. Trim goes on after the tile is finished and cured, which is a couple of hours. On a full bathroom the calendar is driven by tile and cure time more than by plumbing.
Do you need a permit for shower installation?
New shower installations in most Front Range municipalities require a permit and a rough-in inspection before the wall is closed. Requirements vary between Littleton, Denver, Lakewood and unincorporated county, and inspectors here do look at valve type and vent routing. Wes pulls the permit and meets the inspector.
Can you convert a bathtub into a walk-in shower?
Yes, and it is a bigger job than it sounds. The tub drain sits at one end while a shower drain sits near the center, so the drain and often the vent have to be rerouted through the subfloor. Cast iron tubs in older homes usually have to be broken out in pieces. Demo, drain work, framing and finish are all part of the same job.
Where does a shower leak actually start?
Almost never in the middle of the pan. It starts at the corners where the liner is folded, at the curb, and at the drain collar. That is why the pan gets flood tested with water standing in it before any tile goes down. A pan that holds water overnight is not going to surprise you in the ceiling below three years later.
Should I put in an access panel?
If the wall behind the valve backs onto a closet, hallway or another room, yes. It costs almost nothing during construction and it means a future cartridge change or supply repair is a fifteen minute job instead of cutting tile. When there is no practical back side, Wes says so up front so nobody is surprised later.
Installing a shower?
Call Wes. Rough-in done right before the wall closes.